How to add Brim to a model in QIDI Studio?


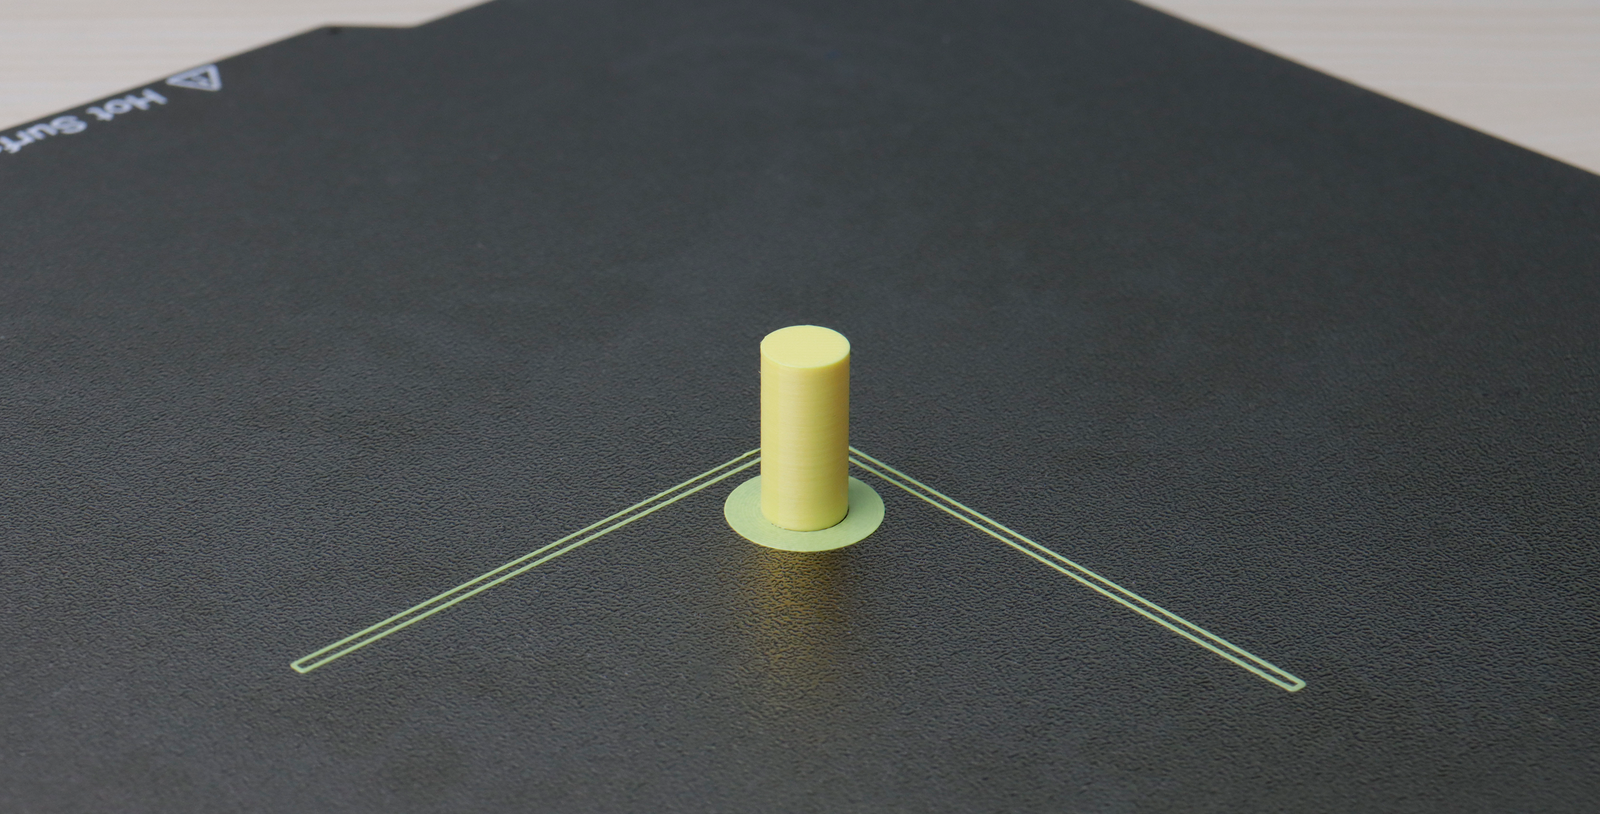
In the 3D printing process, Brim is a common attachment method. It can increase the contact area at the bottom of the model, effectively improve the printing stability, and reduce the risk of warping. Here are some common Brim application scenarios:
- Prevent warping: For materials that are prone to warping, such as ABS and PA, Brim can enhance the adhesion of the bottom layer and prevent the model from warping during printing.
- Improve the stability of small-area models: For models with a small bottom contact surface, Brim can provide additional support to prevent them from tipping over or falling off the printing platform during printing.
QIDI Studio provides a convenient Brim setting option, allowing users to freely adjust Brim parameters according to different printing requirements. This tutorial will show you in detail how to add Brim to the model in QIDI Studio and adjust related parameters to achieve a more stable printing effect
Schematic diagram
Before adding Brim

After adding Brim

The model effect shown in the figure above is achieved by adding and adjusting the parameter. If you want to achieve a similar effect, please follow the steps below .
How to add Brim to a model?
1.Generally, if the model meets certain conditions, Brim will be automatically generated by the algorithm after slicing. However, in some cases, Brim cannot be automatically generated, and you need to manually adjust the relevant parameters.
2.As shown in the figure, find the parameters related to generating Brim. The following are the functions of each option:
Auto: Automatically choose whether to generate Brim based on the algorithm.
Painted: You can draw ear-shaped Brim manually.
Outer brim only: Generates Brim only on the outside of the object.
Inner brim only: If the interior of the object is hollow, Brim is generated only around the inside of the object.
Outer and inner brim: Brim will be generated on the inside and outside of the object.
No-Brim: No Brim will be generated.

3. Depending on the needs of the model, select the Outer brim only option.

4.Click Slice and you will find that Brim is successfully generated at the bottom of the model.

How to add ear-shaped Brim to a model?
During the 3D printing process, the bottom of the model often warps due to material shrinkage or insufficient adhesion, especially when printing easily shrinkable materials such as ABS and ASA. Although traditional Brim can enhance adhesion, it is sometimes troublesome to remove, and not all areas require Brim. In this case, ear-shaped Brim is a more flexible option, which can provide additional support for sharp corners or key areas while reducing subsequent cleaning work. The following figure is a reference picture of ear-shaped Brim:

1. Select the Brim type as "Painted".

2.elect the model to which you want to add ear-shaped Brim, and click the "Ear-shaped Brim" tool above.

3.You can create ear-shaped Brim at the specified location by manually clicking as in box 1, or automatically generate ear-shaped Brim according to the algorithm through box 2.

4.After adding the Brim at the appropriate position, click Slice and you will find that the ear-shaped Brim is successfully generated at the bottom of the model.

Conclusion
Through this tutorial, you have learned how to add Brim to models in QIDI Studio to improve printing stability and reduce warping problems. Flexible use of these tools can help you achieve more stable and accurate 3D printing results. Welcome to join the QIDI community, share your printing experience and works, and interact with more 3D printing enthusiasts!


