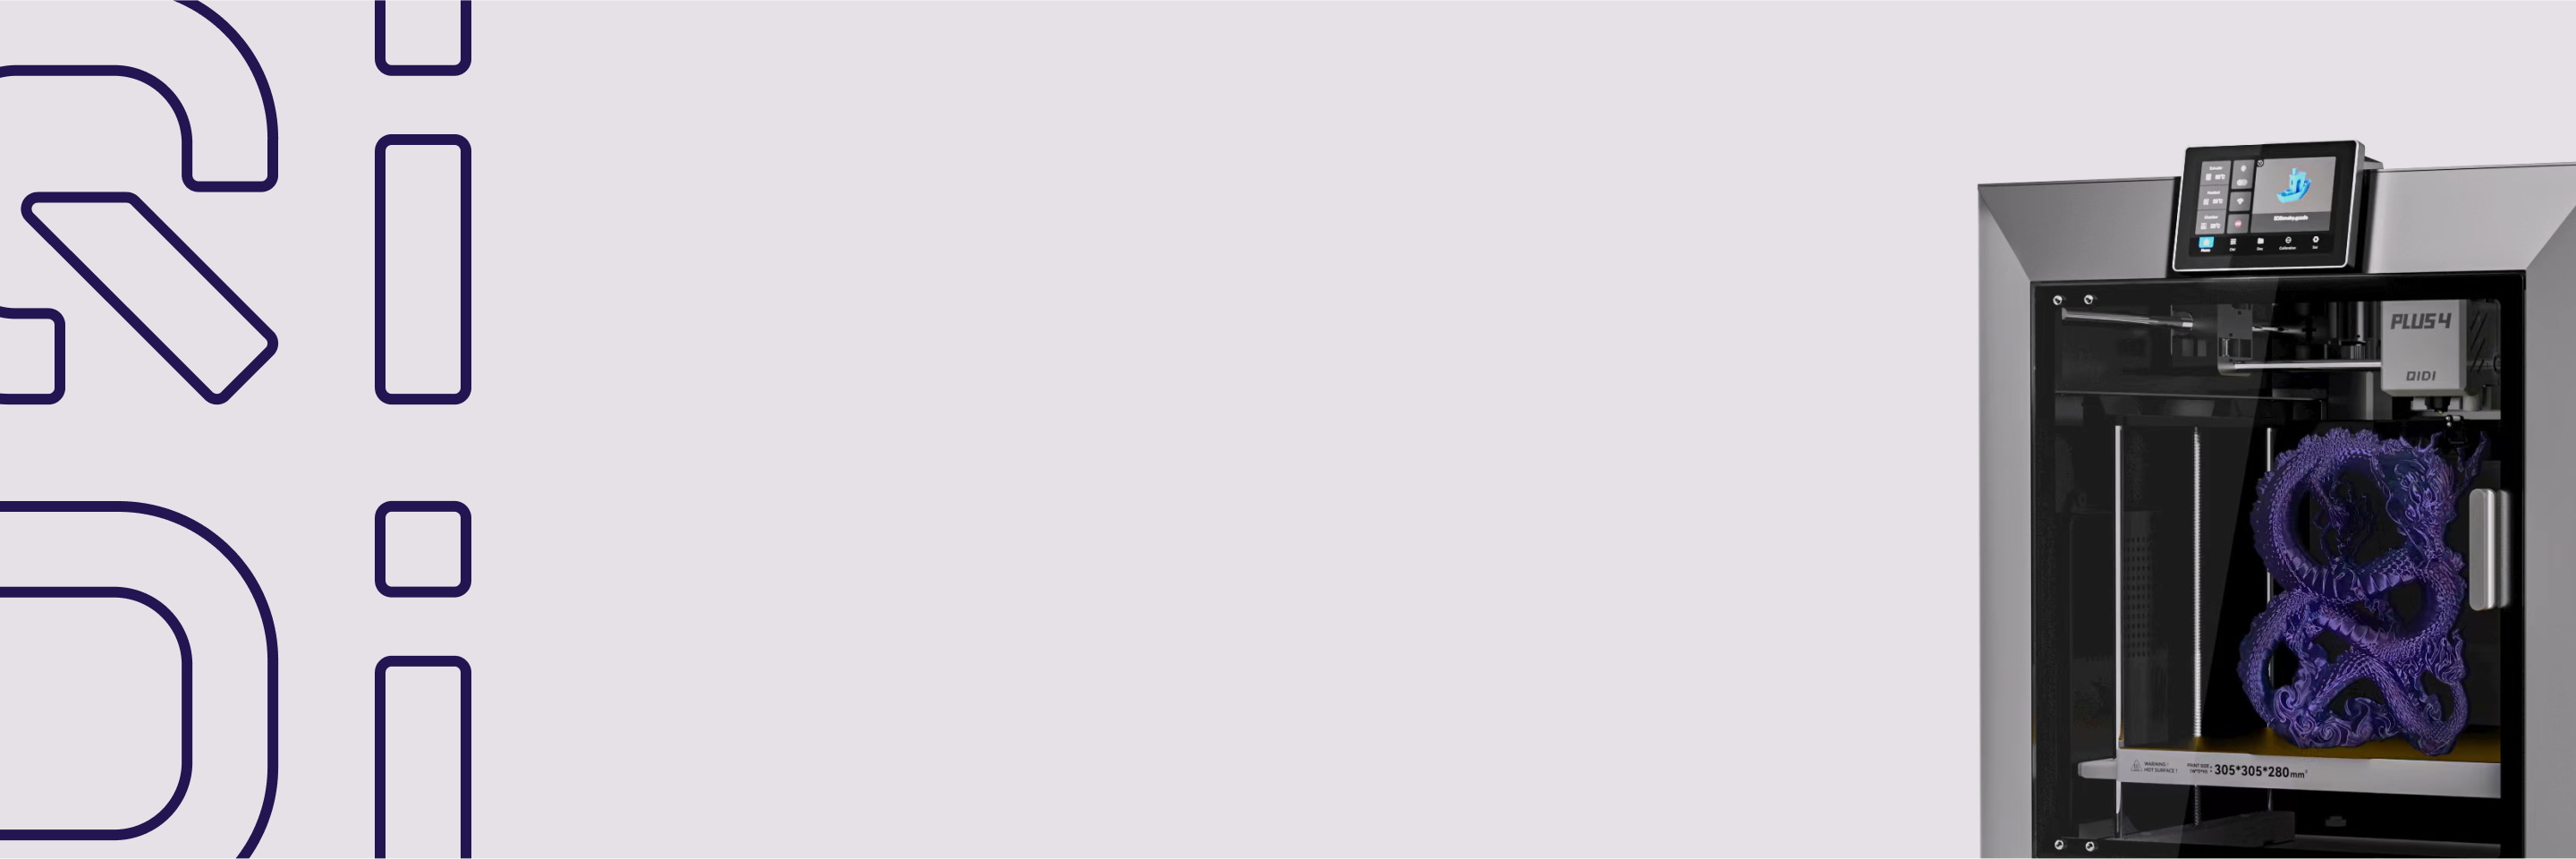
Più 4
Più 4


 Tecnologia

Guida al livellamento del letto automatico nella stampa 3D


Il livellamento automatico del letto è un progresso cruciale nella tecnologia di stampa 3D. Risolve problemi comuni come la scarsa adesione del primo strato e stampe irregolari, che spesso frustrano sia i principianti che i maker esperti. Questa guida spiegherà come funziona il livellamento automatico del letto e come implementarlo in modo efficace. Imparerai a ottenere stampe uniformi e di alta qualità senza il noioso processo di regolazione manuale del letto. Che tu sia alle prime armi con la stampa 3D o che tu stia cercando di aggiornare la tua configurazione attuale, comprendere il livellamento automatico del letto migliorerà significativamente i tuoi risultati di stampa.
Quanto è importante il livellamento automatico del letto nella stampa 3D?

Che cosa è il livellamento del letto?
Livellamento del letto È il processo che garantisce che la piattaforma di stampa della stampante 3D sia parallela al movimento della testina di stampa. Questo crea uno spazio uniforme tra l'ugello e la superficie di stampa su tutta l'area di stampa. Un piano di stampa livellato è fondamentale per stampe di successo, poiché consente al primo strato di aderire correttamente e supporta la costruzione accurata degli strati successivi.
Un letto di stampa correttamente livellato migliora la qualità di stampa aiutando il primo strato ad aderire alla superficie di stampa, mantenendone uno spessore uniforme, riducendo il rischio di deformazioni e aumentando la percentuale di successo complessiva delle stampe.
Cosa succede se il piano della stampante non è in piano?
1. Problemi di adesione alla stampa
Un piano di stampa non livellato può causare il distacco di parti della stampa dalla superficie. Ciò può causare deformazioni, con i bordi della stampa che si sollevano dal piano, o il distacco completo, con l'intera stampa che si stacca durante il processo di stampa.
2. Imprecisioni di stampa
Quando la distanza tra il ugello e il letto varia lungo la superficie di stampa, può causare diversi problemi. Si potrebbe notare uno spessore irregolare degli strati, con alcune aree che presentano strati più spessi o più sottili del previsto. Parti del modello potrebbero essere distorte o di dimensioni errate, e gli strati inferiori della stampa potrebbero presentare imperfezioni visibili, con conseguente scarsa finitura superficiale.
3. Altri potenziali problemi
Un letto di stampa non livellato correttamente può causare ulteriori problemi. Se l'ugello è troppo vicino al letto in determinate aree, può causare accumuli di materiale e ostruzioni. C'è anche il rischio di danneggiare il letto o l'ugello in caso di contatto. Inoltre, distanze diverse tra ugello e letto possono influire sul deposito del filamento, causando un'estrusione non uniforme in diverse aree della stampa.
Perché il livellamento automatico del pianale è migliore
Livellamento del letto manuale vs. automatico
Il livellamento manuale del letto richiede la regolazione degli angoli del letto tramite viti o manopole. Si sposta la testina di stampa in diversi punti del letto e si usa la carta per controllare la distanza tra l'ugello e il letto. È un'operazione che richiede tempo e molta attenzione.
Livellamento automatico del letto Utilizza sensori per misurare la distanza tra ugello e piano di stampa in più punti. La stampante si adatta quindi a eventuali irregolarità durante la stampa. Questo metodo automatizzato offre diversi vantaggi.
Principali vantaggi del livellamento automatico del pianale
Il livellamento automatico del piano di stampa offre maggiore precisione, praticità e affidabilità rispetto ai metodi manuali, migliorando l'esperienza di stampa 3D sia per gli hobbisti che per i professionisti.

Componenti di livellamento automatico del letto nella stampa 3D
Sensori e interruttori: misurazione della distanza del letto
I sistemi di livellamento automatico del letto di stampa utilizzano sensori o interruttori per misurare la distanza tra l'ugello di stampa e la superficie del letto. I tipi più comuni includono:
Questi componenti sono solitamente posizionati vicino all'ugello di stampa. Aiutano la stampante a misurare l'altezza del letto di stampa in diversi punti per creare una mappa accurata della superficie.
Firmware: interpretazione dei dati e regolazione della stampante
Il firmware della stampante è fondamentale per il livellamento automatico del piano.Interpreta i dati dei sensori e regola dinamicamente l'altezza dell'ugello. Questo processo prevede diverse fasi.
Innanzitutto, il firmware raccoglie i dati istruendo il sensore a effettuare misurazioni in vari punti del letto. Questo crea una "mappa" della superficie del letto. Il firmware interpreta quindi questi dati per determinare l'inclinazione complessiva del letto e eventuali irregolarità locali.
Durante la stampa, il firmware regola costantemente il movimento dell'asse Z (altezza) della testina di stampa. Questo compensa eventuali irregolarità del piano di stampa, garantendo una distanza costante tra l'ugello e la superficie di stampa. Il firmware traduce inoltre i dati di livellamento in comandi G-code, che controllano i movimenti della stampante durante il processo di stampa.
Il firmware avanzato è in grado di eseguire il livellamento del letto a maglie, creando una mappa topografica dettagliata del letto per regolazioni ancora più precise sull'intera superficie di stampa.
Come impostare il livellamento automatico del letto sulla stampante 3D
Per impostare il livellamento automatico del letto, avrai bisogno di un stampante 3D che supporti questa funzione, il sensore di livellamento corretto per la stampante e alcuni strumenti di base come cacciaviti e chiavi a brugola. Avrai anche bisogno di un aggiornamento software della stampante (firmware) che funzioni con il livellamento automatico del piano ed eventualmente un computer per modificare le impostazioni del firmware.
Passaggio 1: verificare se la stampante può utilizzare il livellamento automatico del letto
Consulta il manuale della tua stampante o il sito web del produttore per verificare se menziona il livellamento automatico del piano di stampa o il supporto della sonda. Se la tua stampante non ha questa funzione integrata, potrebbe essere necessario acquistare un kit di aggiornamento.
Passaggio 2: installare il sensore di livellamento
Per prima cosa, spegni la stampante per sicurezza. Individua la posizione del sensore, solitamente vicino alla testina di stampa. Fissa il sensore utilizzando le viti o le clip in dotazione. Collega i cavi del sensore ai punti corretti sulla scheda di controllo della stampante. Controlla attentamente tutti i collegamenti prima di riaccendere la stampante.
Passaggio 3: posizionare il sensore nel posto giusto
Il sensore deve essere nella posizione corretta. Deve essere in grado di raggiungere tutte le parti del piano di stampa senza urtare nulla quando la testina di stampa si muove. Se è possibile regolare il sensore, impostarlo in modo che si attivi appena prima che l'ugello tocchi il piano.
Passaggio 4: aggiorna il software della stampante
Scarica il firmware più recente per la tua stampante compatibile con il livellamento automatico del piano di stampa. Installa questo nuovo firmware sulla stampante. Accedi alle impostazioni della stampante, direttamente dalla stampante o tramite un computer collegato. Attiva la funzione di livellamento automatico del piano di stampa nelle impostazioni. Inserisci le misure corrette per la posizione del sensore rispetto all'ugello. Salva le modifiche e riavvia la stampante.
Dopo aver completato questi passaggi, la stampante dovrebbe essere pronta per utilizzare il livellamento automatico del piano. Prova una stampa di prova per assicurarti che tutto funzioni correttamente. In caso di problemi, controlla nuovamente i collegamenti e le impostazioni o chiedi aiuto sui forum di stampa 3D.
Come migliorare e risolvere i problemi del livellamento automatico del cassone
Calibrazione iniziale
Dopo aver installato il sistema di livellamento automatico del piano di stampa, è necessario calibrarlo. Iniziare assicurandosi che il piano sia approssimativamente livellato tramite regolazioni manuali. Quindi, eseguire la sequenza di livellamento automatico del piano di stampa. La maggior parte delle stampanti dispone di un'opzione di menu integrata per questa operazione.
Una volta completata la sequenza, controlla i risultati. Molte stampanti visualizzano una griglia o una mesh che mostra le altezze del piatto misurate. Verifica eventuali variazioni estreme che potrebbero indicare un problema con il piatto o il sensore.
Test e ottimizzazione
Per testare il sistema, stampa un oggetto grande e piatto che copra la maggior parte del piano di stampa. Un modello di calibrazione o un quadrato sottile che copra il piano funzionano bene. Durante la stampa, osserva attentamente il primo strato.
Cercare questi segnali di un buon livellamento:
Se noti problemi, potrebbe essere necessario regolare l'offset z. Si tratta della distanza tra l'ugello e il letto di stampa quando il sensore si attiva. Piccole regolazioni possono fare una grande differenza.
Risoluzione dei problemi comuni
Ottenere un perfetto livellamento automatico del piano di stampa richiede spesso pazienza e sperimentazione. Non aver paura di apportare piccole modifiche e di testare ripetutamente. Con il tempo e la pratica, perfezionerai le impostazioni per ottenere stampe sempre perfette.

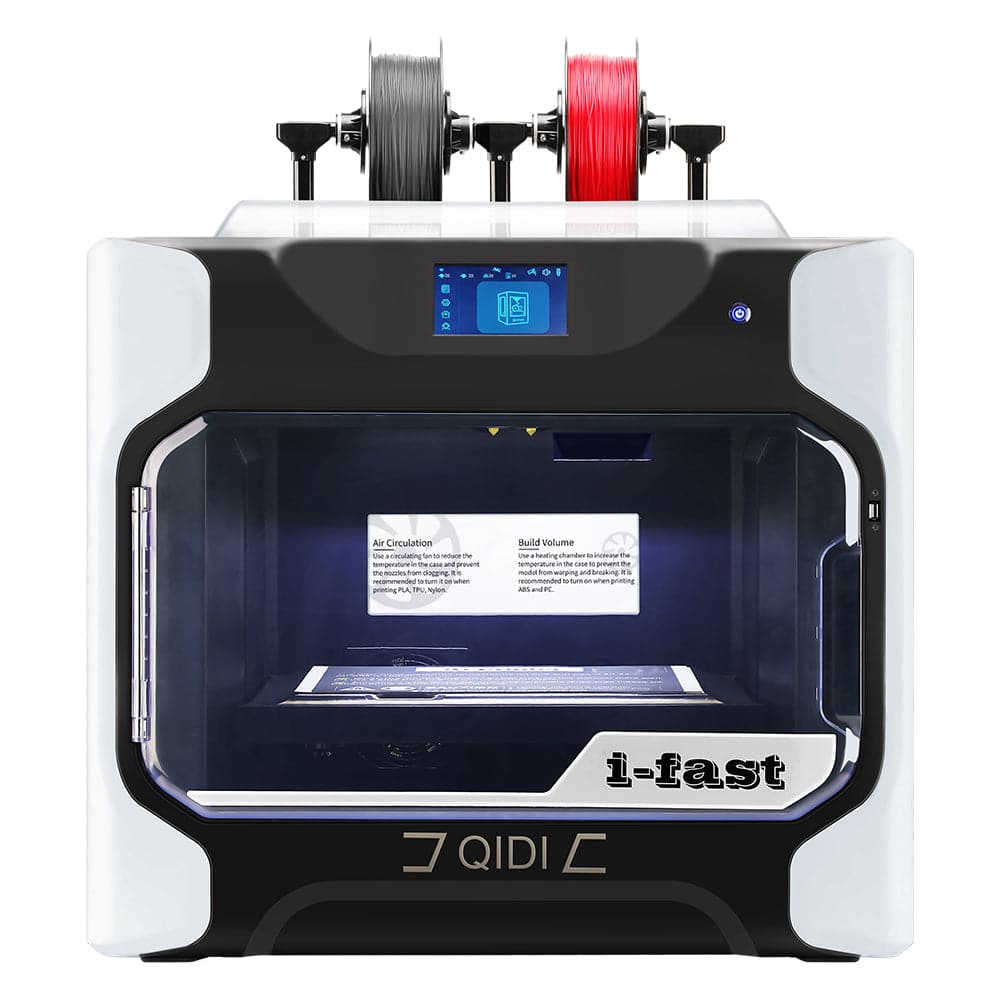
La migliore stampante 3D con autolivellamento: QIDI X-Max 3
IL QIDI
Queste funzionalità mostrano come il livellamento automatico del piano di stampa possa essere integrato con altre tecnologie avanzate per migliorare la qualità e l'uniformità di stampa. Tuttavia, è importante notare che molte stampanti 3D moderne offrono funzionalità di livellamento automatico del piano di stampa e che gli utenti dovrebbero valutare le proprie esigenze specifiche e confrontare diverse opzioni prima di prendere una decisione.
Crea stampe 3D migliori con il livellamento automatico del letto
Il livellamento automatico del piano rende la stampa 3D più semplice e affidabile. Risolve molti problemi di stampa comuni, sia per i principianti che per gli utenti esperti. Imparando a configurarlo e utilizzarlo, è possibile ottenere una qualità di stampa notevolmente migliore. Potrebbe volerci un po' di tempo per farlo funzionare correttamente, ma ne vale la pena. Con livellamento automatico del letto, avrai meno stampe fallite e più tempo per creare. Se stai cercando di migliorare la tua stampa 3D, prova il livellamento automatico del piano. Può davvero aiutarti a realizzare stampe migliori con meno problemi.

Domande frequenti
Devo livellare il piano prima di ogni stampa?
Con il livellamento automatico del piano di stampa, non è necessario livellare il piano prima di ogni stampa. Una volta impostato correttamente, il sistema misurerà e regolerà automaticamente le irregolarità del piano. Questo vi farà risparmiare tempo e fatica. Tuttavia, è consigliabile controllare e calibrare il sistema di livellamento automatico del piano di stampa di tanto in tanto per assicurarvi che funzioni correttamente.
Come livellare il piano di una stampante 3D?
Esistono due metodi principali per livellare il piano di una stampante 3D: manuale e automatico.
Il livellamento manuale prevede la regolazione degli angoli del letto di stampa tramite viti o manopole. Si sposta la testina di stampa in punti diversi del letto e si usa un foglio di carta per controllare la distanza tra l'ugello e il letto. Richiede tempo e attenzione.
Il livellamento automatico del piano di stampa è molto più semplice. Basta installare un sensore speciale vicino alla testina di stampa ed eseguire una sequenza di livellamento dal menu della stampante. La stampante misura autonomamente diversi punti sul piano di stampa. Quindi, il software della stampante crea una "mappa" della superficie del piano di stampa e apporta le opportune modifiche durante la stampa. È più veloce e preciso rispetto all'esecuzione manuale.
Quanto è importante il livellamento automatico del pianale?
Il livellamento automatico del piano di stampa è fondamentale per ottenere stampe 3D di qualità e uniformi. Aiuta a migliorare l'adesione del primo strato assicurando che la distanza tra ugello e piano di stampa sia corretta su tutta la superficie di stampa. Questo si traduce in meno stampe fallite e una migliore qualità complessiva.
Ti fa risparmiare tempo perché non devi regolare manualmente il piano di stampa così spesso. Può persino compensare piccole imperfezioni del piano di stampa, come leggere deformazioni. Questo rende la stampa 3D più facile per i principianti e meno frustrante per gli utenti esperti.
Il livellamento automatico del piano di stampa rappresenta un grande passo avanti nella stampa 3D. Rende l'intero processo più affidabile e aiuta a ottenere risultati migliori con meno problemi. Ecco perché molti lo considerano una funzionalità indispensabile per le stampanti 3D moderne.
Per saperne di più
- Comunità QIDI in 3D – Negozio online Qidi Tech
- Le nuove stampanti 3D di QIDI TECH al TCT Asia – Negozio online di Qidi Tech
- La prima sessione di condivisione del modello globale di QIDI TECH: la creatività aggiunge una T – Negozio online di Qidi Tech
- Nuovo capitolo di QIDISlicer – Negozio online Qidi Tech
- Nuovi filamenti QIDI - Negozio online Qidi Tech