How to Avoid Filament Color Bleeding in Multi-Color 3D Printing?


Multi-color 3D printing can bring rich visual effects to models, but the problem of filament color bleeding often occurs during color changes. The main cause of this issue is the residual filament left—filaments of different colors mix into adjacent areas, compromising the model's appearance. This tutorial will explain how to "flush out" old filament with new filament, focusing on the filament flushing process.
Schematic Diagram
Comparison Before and After Adjustment:


Operation Guide
1. Adjust Flush Volume
Flush volume refers to the total volume of old filament (extruded from the nozzle) plus some new filament, which is used to ensure color or material purity when changing filaments. The primary factor determining flush volume is filament color:
- Dark-colored filaments are more likely to contaminate light-colored ones. Therefore, when switching from dark to light filament, a larger flush volume is required.
- Conversely, when switching from light to dark filament, the flush volume can be reduced appropriately.

There are two ways to adjust the flush volume:
Adjust Individual Flush Amount
- In the "Filament" section, click the "Flushing" button.
- Select and modify the corresponding value. It is recommended to set the flush amount within the range of [90, 900].
- Example: Since black filament is showing through the white filament sections of the model, increase the flush amount for the "black → white" filament switch to 700.


Adjust Flush Volume Multiplier
- Modifying the multiplier will change all flush amounts simultaneously.
- To balance print quality and filament usage effectively, it is recommended to test the multiplier when printing with different filaments or nozzles.

- To restore the default flush volume, click the "Recalculate" button.
2. Select Flush Location
"Flush into objects' support" is Enabled by Default
Supports are removed after printing, so they can be used for filament flushing without affecting the model's final appearance.

Use "Flush into objects' infill" with Caution
Flushing to infill makes use of material that would otherwise be wasted. However:
- If the model's shell is made of light-colored or transparent filament, dark-colored filament in the infill may bleed through and ruin the model's appearance.
- Therefore, "Flush to Model Infill" is not recommended unless:
- The model's shell is dark-colored.
- You intentionally want to create a "bleed-through effect" from the infill to the exterior.

> Note: The "Flush to Model" function (including both "Supports" and "Infill" options) can only be used after enabling the Prime Tower.

Key Takeaways: How to Eliminate Filament Color Bleeding
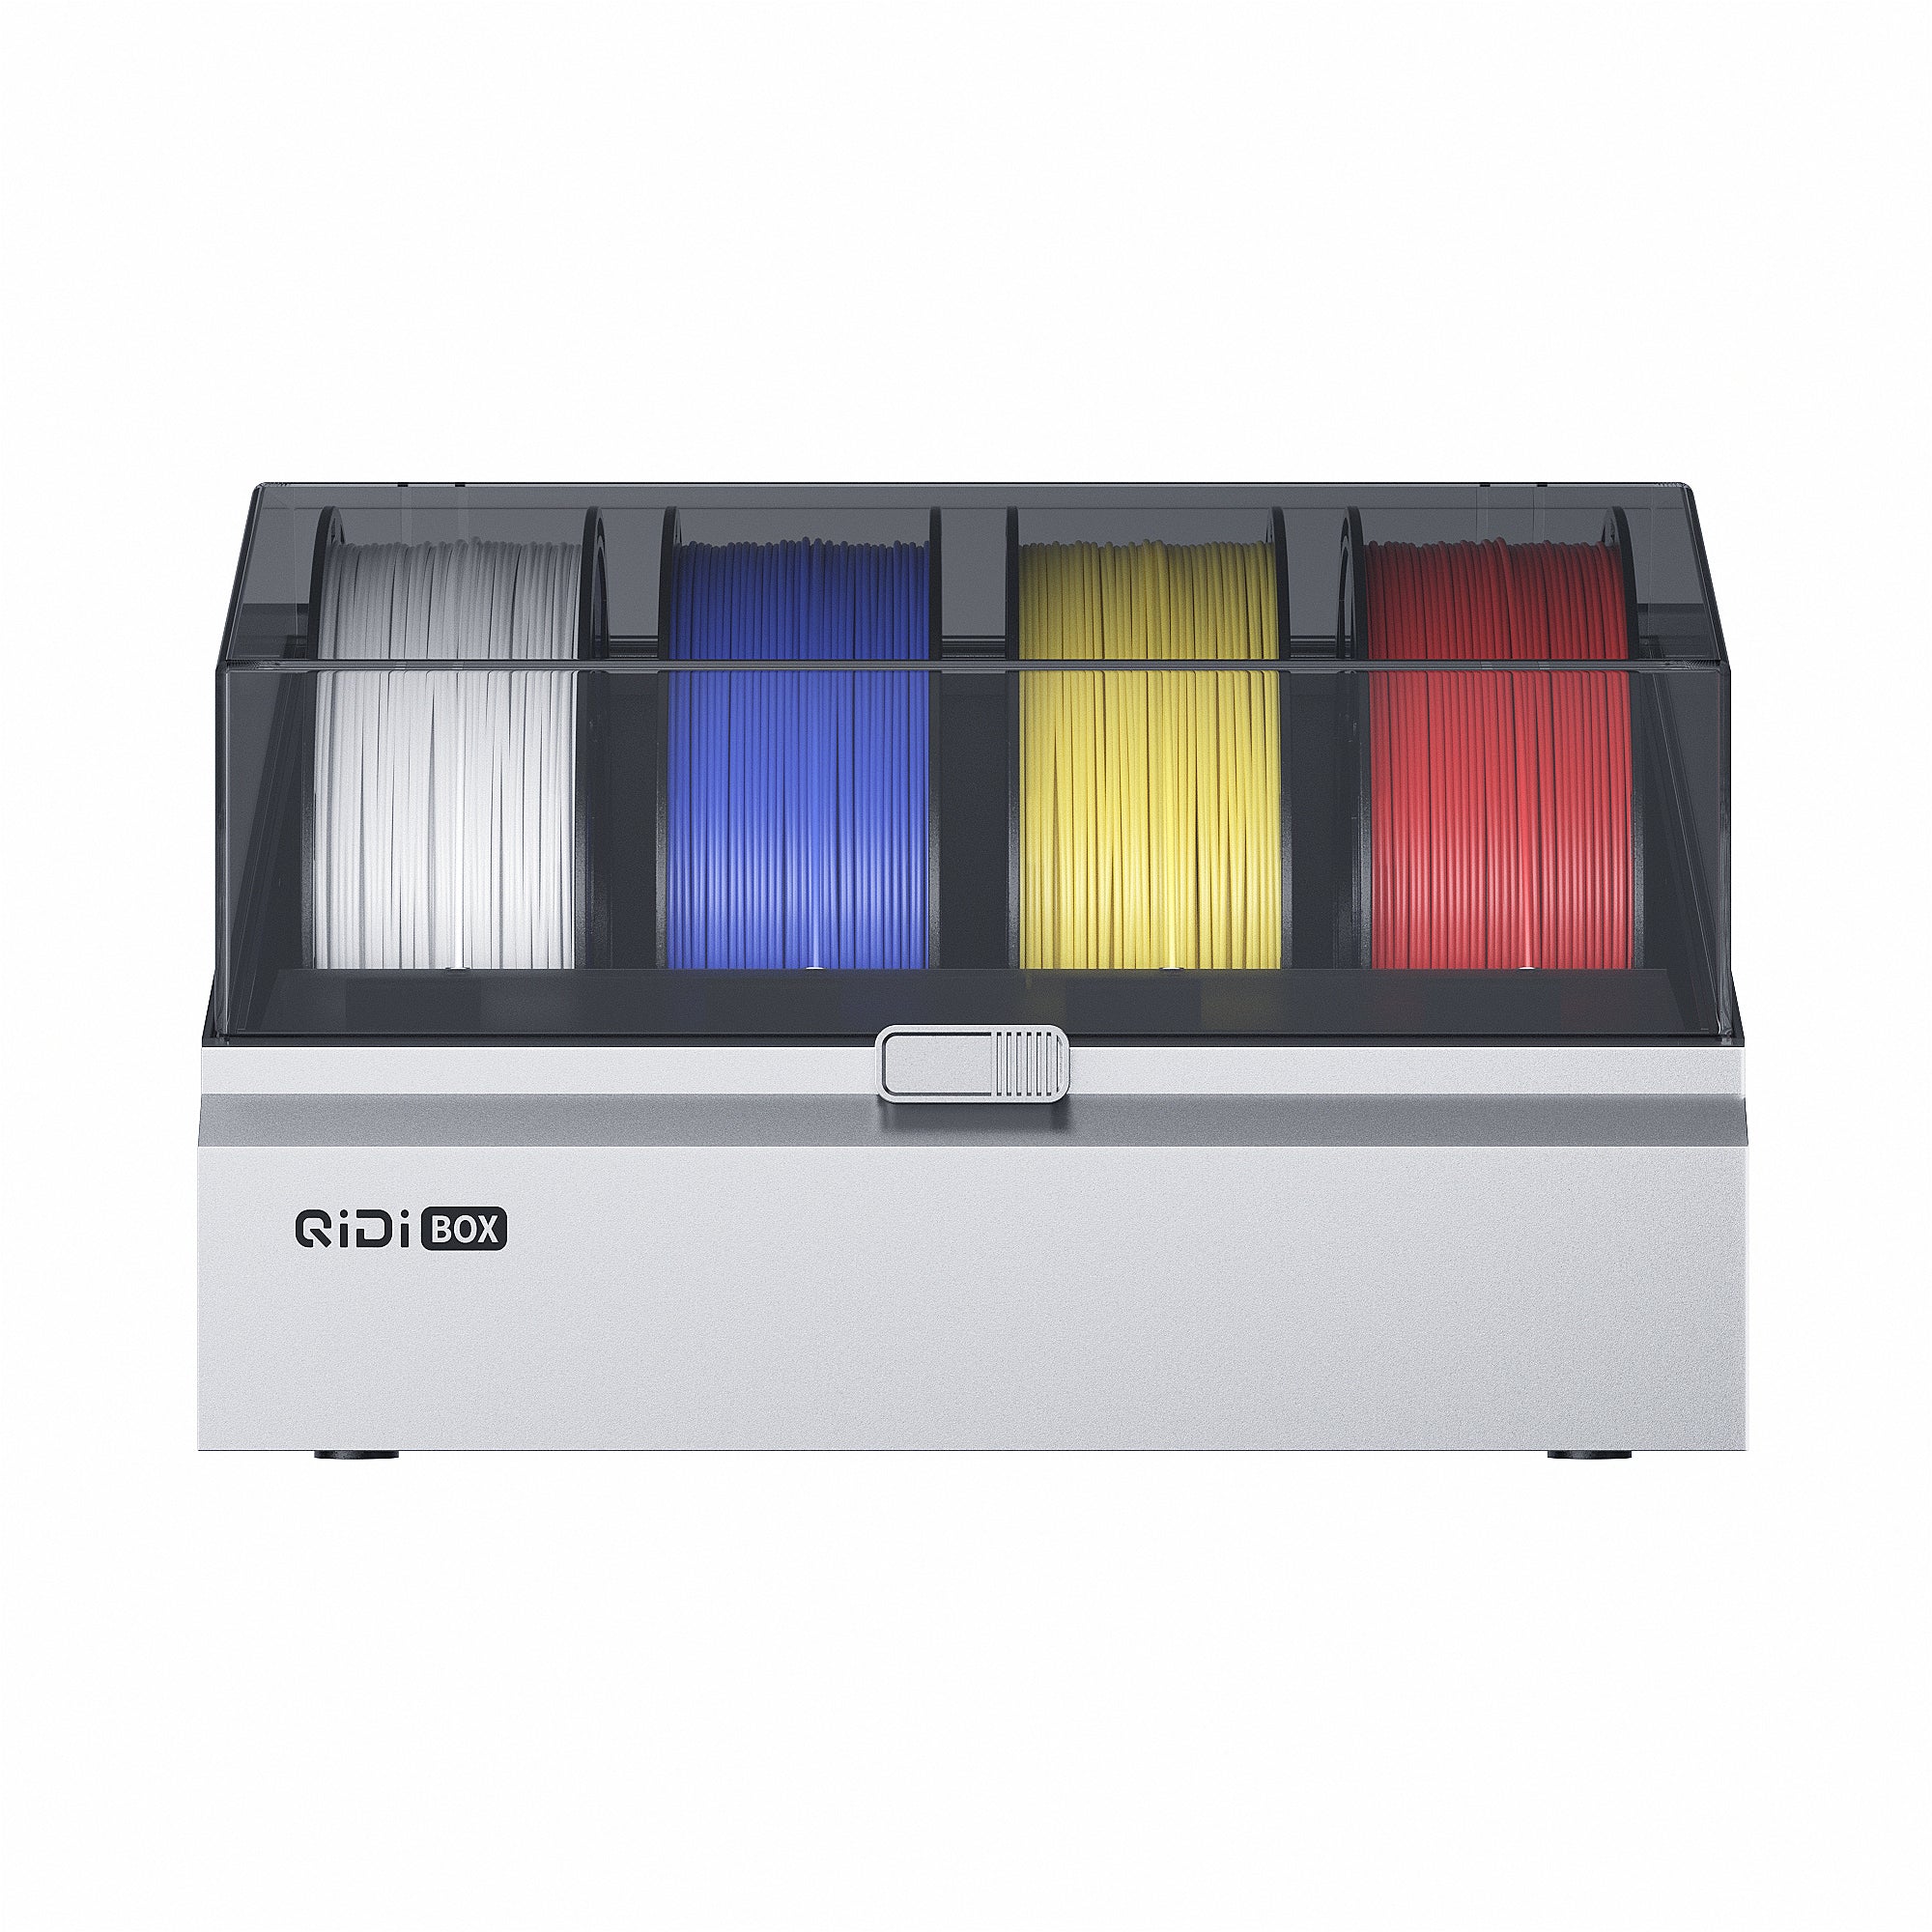
The core to solving color bleeding lies in setting the right flush volume parameters. With simple adjustments, you can easily use QIDI BOX and your 3D printer to create multi-color models with clean, distinct colors!


 Q2
Q2
 QIDI Box
 Plus 4
 Q1 Pro
 X-Max 3

