Q2
Q2
 QIDI Box
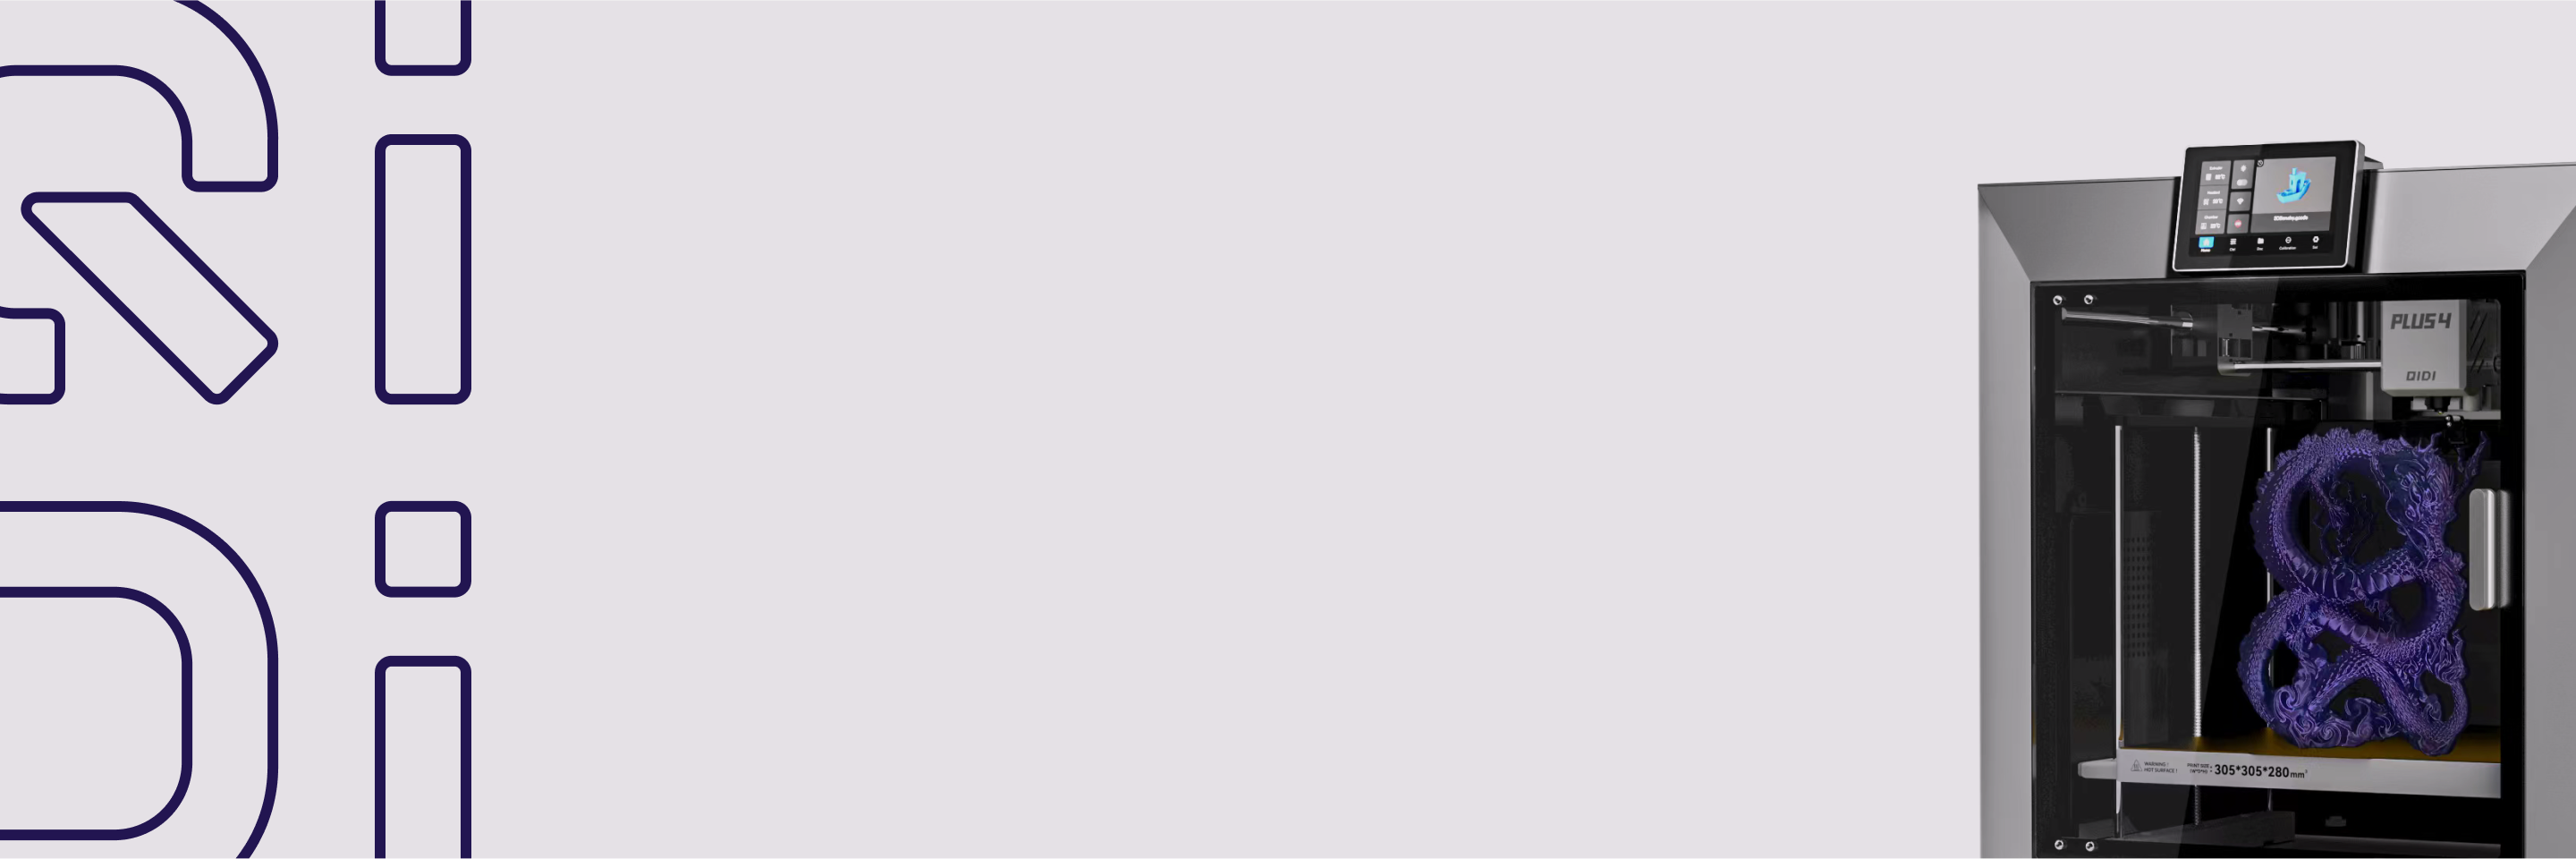
 Plus 4
 Q1 Pro
 X-Max 3


How to 3D Print Replacement Clips for Loose Window Screens


How to 3D Print Replacement Clips for Loose Window Screens
The frustration is familiar to every homeowner: a window screen that rattles in the wind or falls out entirely because a small plastic clip has snapped. These components are often the "weakest link" in home maintenance. Over time, exposure to intense UV radiation and seasonal temperature swings turns factory-molded plastic into brittle shards. Replacing them usually involves an annoying trip to the hardware store, only to find they don't stock your specific 20-year-old profile.
We have found that 3D printing offers more than just a temporary fix; it allows you to engineer a replacement that is actually superior to the original. By selecting the right materials and applying professional design principles, you can produce clips that resist UV degradation and maintain their "spring" for years. This guide explores how to move from a broken part to a high-performance, custom-fit solution using industrial-grade desktop fabrication.
The Material Science of Outdoor Longevity
When printing parts for home exteriors, material selection is the most critical decision. The primary enemy isn't mechanical force; it is the sun. According to the NIST research on advanced materials for additive manufacturing, environmental factors significantly impact the long-term performance of polymers.
ASA vs. ABS: The UV Battle
While many hobbyists reach for ABS (Acrylonitrile Butadiene Styrene) for its strength, it is a poor choice for window clips. ABS degrades rapidly under UV light, becoming yellow and brittle within a single season. We recommend ASA (Acrylonitrile Styrene Acrylate) as the professional alternative. ASA shares the mechanical properties of ABS but features a modified chemical structure that provides exceptional UV resistance. In our experience with outdoor components, ASA clips maintain their flexibility and structural integrity 2–3 times longer than ABS equivalents in direct sunlight.
PETG: The Balanced Alternative
For those who need a quicker print with less risk of warping, PETG Rapido is an excellent candidate. PETG offers a balance of tensile strength and impact resistance. While its UV resistance is lower than ASA, it is significantly better than PLA. PETG Rapido is particularly useful for clips requiring "spring action" because it is less prone to "creep"—the tendency of a material to permanently deform under constant stress.
Our material recommendations are based on the heuristic that outdoor longevity is a product of UV stability multiplied by thermal resistance. ASA is the primary recommendation for high-sun areas, while PETG is the fallback for ease of use in shaded or temperate zones.
Designing for Mechanical Stress and "Living Hinges"
A common mistake in 3D printing replacement parts is making them too rigid. A window clip must flex to snap into place and then exert constant pressure to hold the screen. If the design is too stiff, the internal stresses will eventually lead to layer separation.
The Living Hinge Principle
To ensure the clip can bend without breaking, we utilize the "living hinge" principle. This involves designing a specific section of the part to be thinner than the rest, directing the flex to a controlled area.
- Optimal Thickness: We recommend a thickness of 1.5mm to 2.0mm for the flexing section. This provides enough "meat" for structural integrity while remaining flexible enough for installation.
- Tolerance Gaps: Based on patterns we see in custom hardware repair, you should design a 0.2mm to 0.3mm tolerance gap between the clip's hook and the window frame. This accounts for "material creep" over time and ensures the clip doesn't become impossible to remove.
Reinforcing the Structure
Regardless of your infill percentage, the strength of a small functional part comes from its perimeters (walls). We suggest using 3–4 perimeter walls. This creates a solid "shell" that prevents water ingress and resists the outward pressure of the screen frame.

Slicing Strategies for Maximum Durability
How you orient the part on the print bed is just as important as the design itself. 3D prints are inherently anisotropic, meaning they are weaker in the Z-axis (between layers) than in the X and Y axes.
Grain Direction (Orientation)
Think of the layers like the grain in wood. You never want the bending force to pull the layers apart. For clips, we recommend printing "on-edge." This ensures the layer lines run perpendicular to the bending stress. If a clip is printed flat, the "hook" portion is only held on by the thin bond between layers, making it prone to snapping.
Infill and Wall Density
For small parts like clips, "savings" on material are negligible. We recommend 100% infill for maximum density. Using a high-speed, reliable filament like PETG Rapido allows you to maintain these high-density settings without significantly increasing print time.
Modeling Clip Durability (Scenario Analysis)
To demonstrate the impact of these choices, we modeled the expected performance of a standard retention clip under repeated stress.
| Parameter | Value / Range | Unit | Rationale |
|---|---|---|---|
| Flex Section Thickness | 1.8 | mm | Balance of flex and durability |
| Perimeter Walls | 4 | count | Prevents delamination |
| Print Orientation | On-Edge (90°) | deg | Aligns strength with stress |
| Material (ASA) | 100% | infill | Maximum UV resistance |
| Tolerance Gap | 0.25 | mm | Accounts for thermal expansion |
This model assumes a deterministic scenario for a standard 25mm retention clip used in a residential window frame. It is a scenario model based on common shop practical baselines, not a controlled lab study.
Overcoming Technical Friction: The Role of the Heated Chamber
Printing with high-performance materials like ASA or ABS often introduces "friction points" for the user—specifically warping and shrinking. Because these materials contract as they cool, the corners of the part can lift off the bed, ruining the dimensional accuracy.
This is where hardware capability becomes essential. Professional-grade machines like the QIDI Plus4 3D Printer or the QIDI Max4 3D Printer utilize active chamber heating. By maintaining a consistent internal temperature (up to 65°C in the QIDI Plus4 3D Printer), the printer prevents the material from cooling too quickly. This "reduced friction" in the printing process ensures that your 0.2mm tolerances are actually met in the final part.
For smaller shops or those just entering the world of functional repairs, the QIDI Q2 3D Printer offers an entry-level path to these professional features, including a heated chamber that makes technical filaments accessible without the constant "tinkering" often associated with hobbyist machines.
Summary of Key Takeaways
To successfully 3D print replacement window clips that last, follow these expert heuristics:
- Material Choice: Prioritize ASA for direct sunlight; use PETG Rapido for shaded areas or quick functional prototyping.
- Design for Flex: Use a 1.5–2.0mm thickness for the hinge and include a 0.25mm tolerance gap to account for material creep.
- Strength Settings: Use 4 perimeter walls and 100% infill. Always orient the part so the stress is perpendicular to the layer lines.
- Thermal Control: Use a printer with a heated chamber, such as the QIDI Max4 3D Printer, to ensure dimensional accuracy and prevent warping in technical filaments.
By moving away from "theoretical tinkering" and toward these practical, material-focused strategies, you can turn a common household annoyance into a demonstration of the power of modern additive manufacturing.
Disclaimer: This article is for informational purposes only. When performing home repairs, ensure all components meet local safety and building codes. Always use appropriate personal protective equipment (PPE) when handling 3D printing filaments and machinery.
- How to 3D Print Replacement Clips for Loose Window Screens
- The Material Science of Outdoor Longevity
- ASA vs. ABS: The UV Battle
- PETG: The Balanced Alternative
- Designing for Mechanical Stress and "Living Hinges"
- The Living Hinge Principle
- Reinforcing the Structure
- Slicing Strategies for Maximum Durability
- Grain Direction (Orientation)
- Infill and Wall Density
- Modeling Clip Durability (Scenario Analysis)
- Overcoming Technical Friction: The Role of the Heated Chamber
- Summary of Key Takeaways
Recommended products